Mechanical Design: A Saga - Parts 1 & 2
The mechanical design of our project took place in three segments but is best reflected on as one process. The first phase being the construction of the main part of the enclosure, the second being the construction of the lid and finishing on the enclosure, and the third being the weather proofing and finalization of the lid.
Stage 1:
The enclosure was constructed using steel. This steel was first bent to form the back of the box and two of the sides. The other two sides were cut to fit each side and welded to the first two. This was to ensure that the corners could be made to be 90 degrees.
Pieces were formed into the weatherproofing lip by cutting sized pieces of steel and hammering them into shape with a hammer. This lip can be seen in the image below.
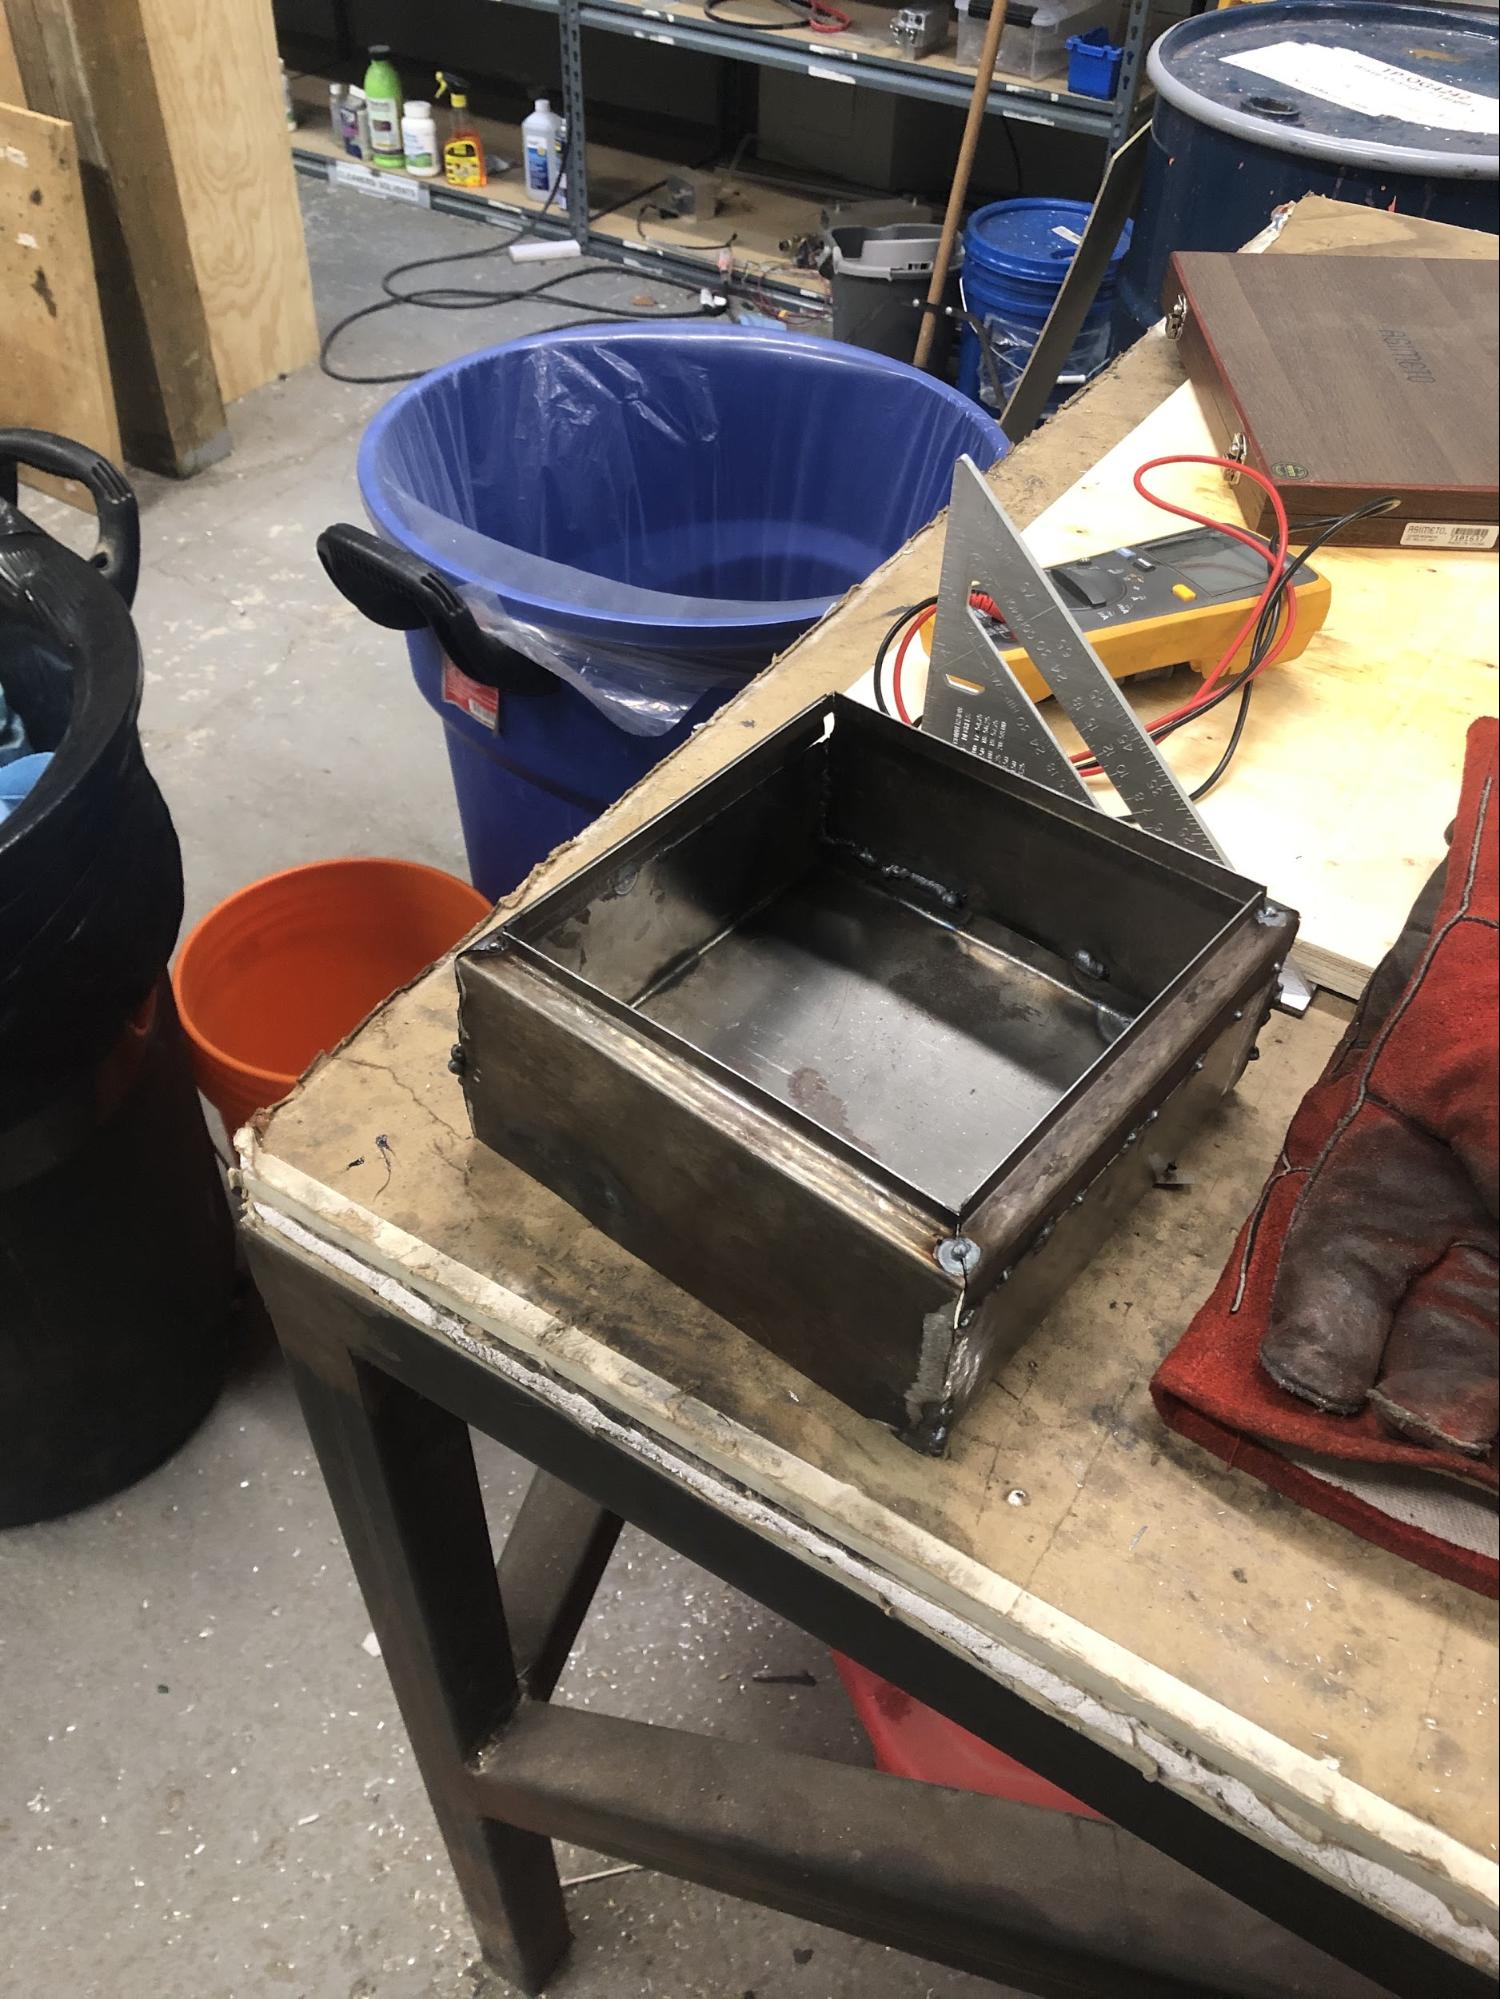

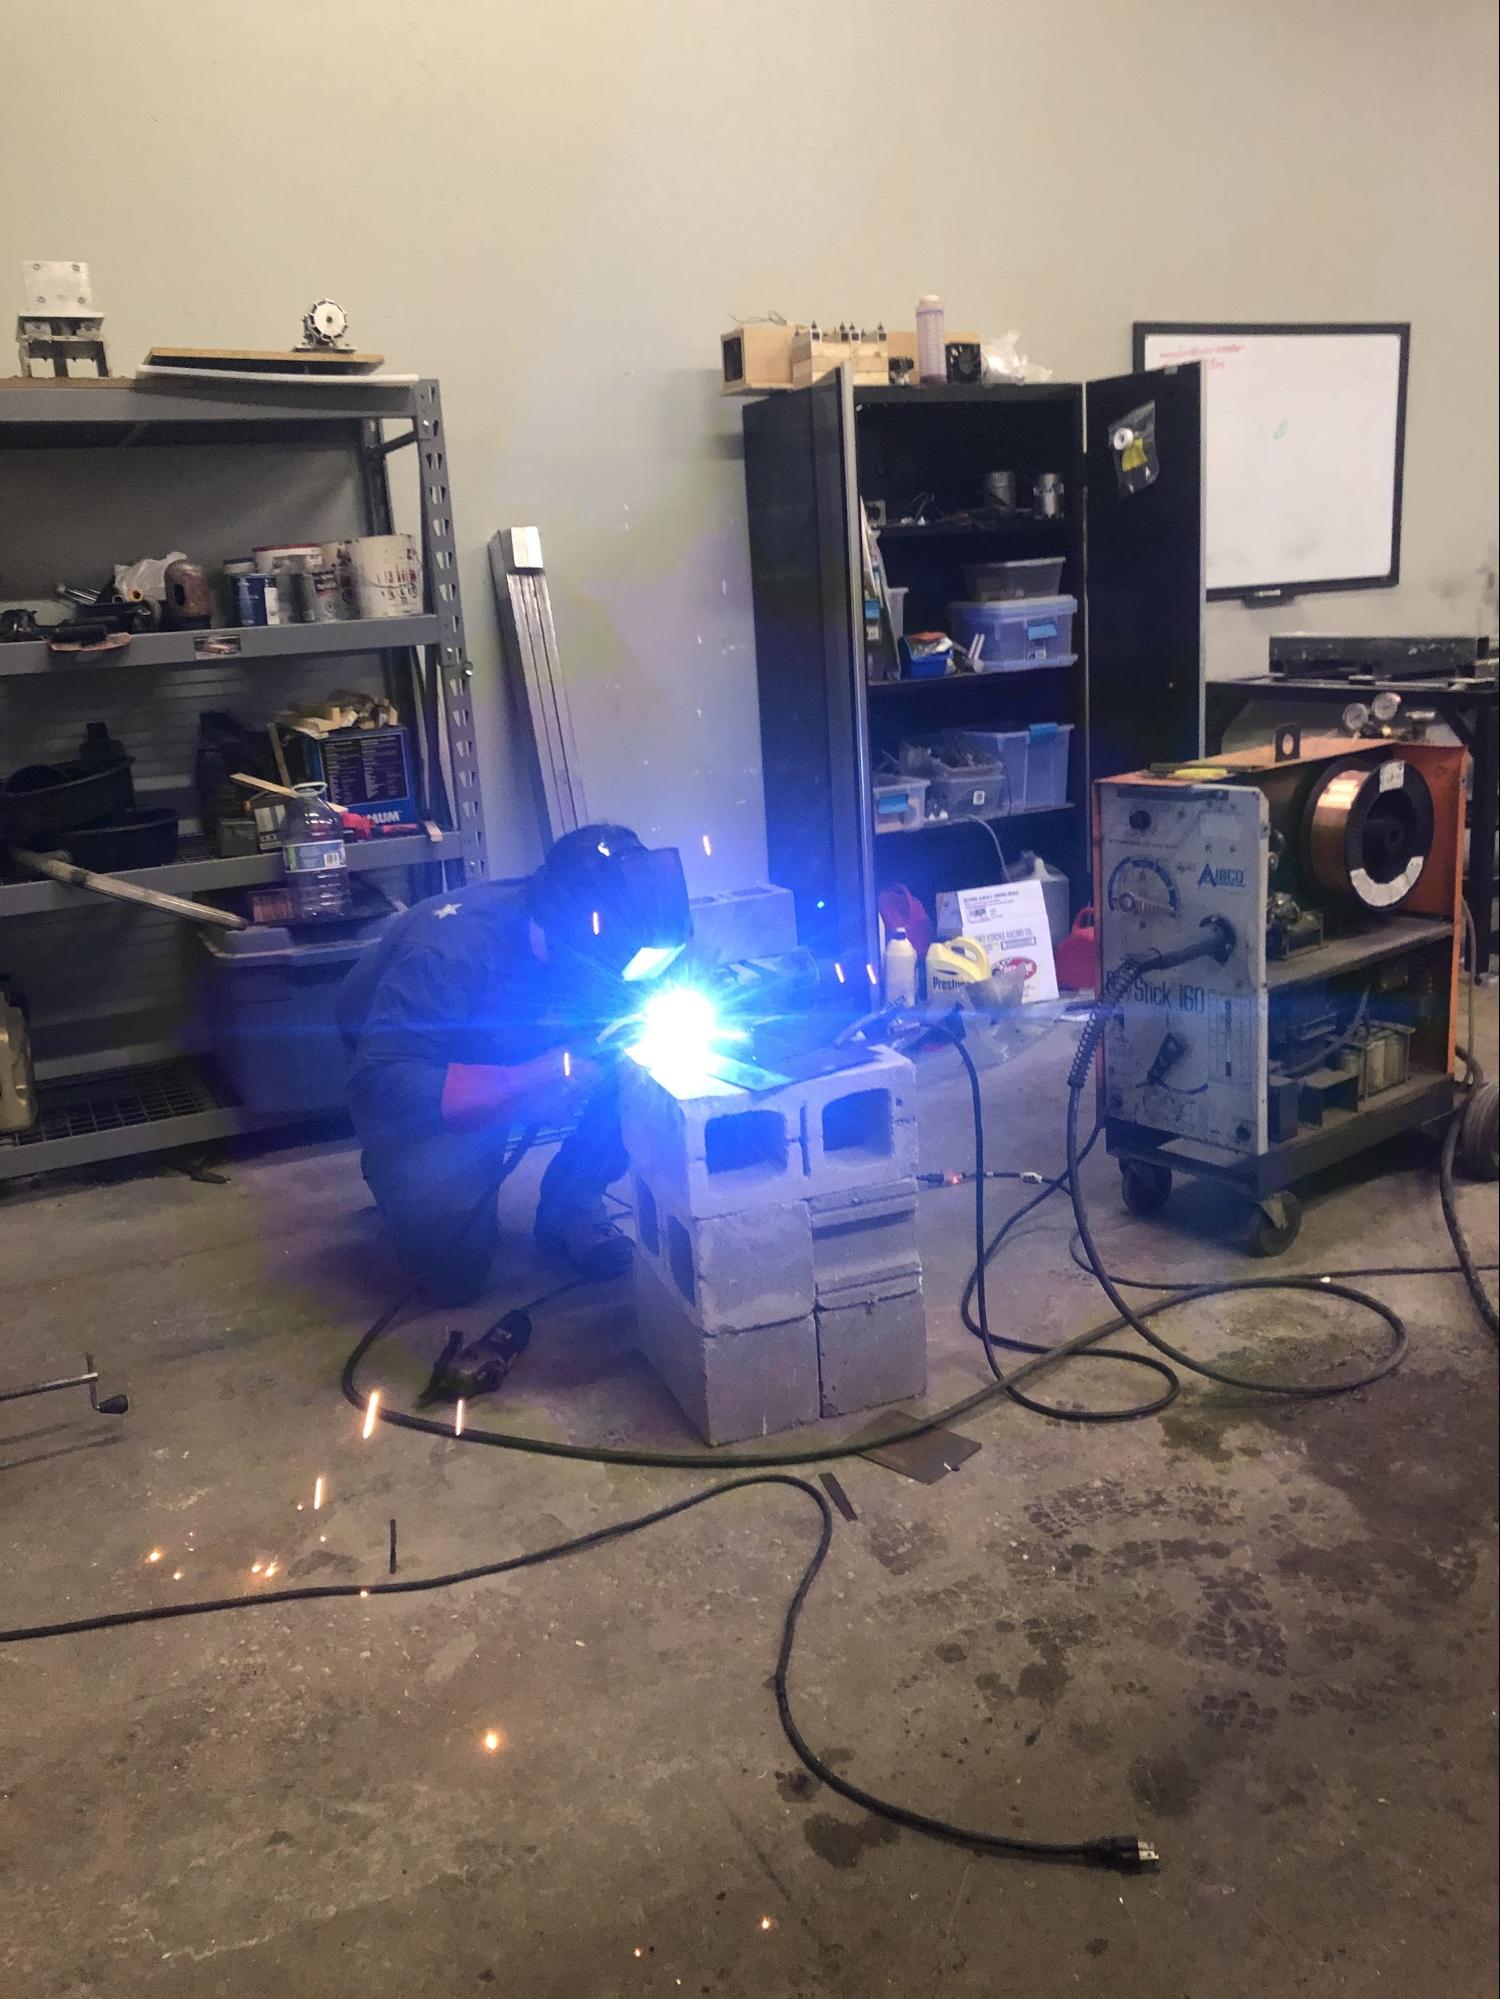
These pieces were then welded to the top of the box. A Gas Metal Arc welder was used to tack weld all of the sides together. To ensure that the steel did not crack under the heating and cooling of the metal being welded, the tacks were done by alternating sides of the box being welded and alternating the sides of each edge.
For aesthetics, the welds were ground down and smoothed out.
Stage 2:
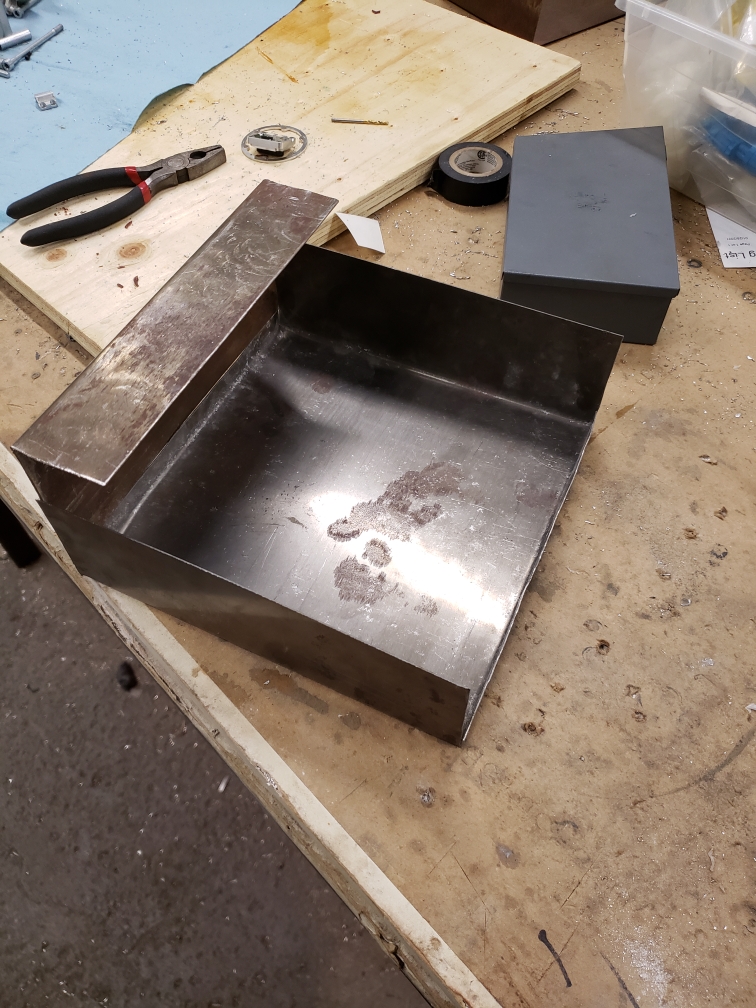
Essentially the process to create the lid followed the same steps with the exception that only one piece of steel was used. This piece was cut at the corners and bent up. It was then welded at the seams using the same process described in stage 1. For the finishing on the enclosure, automotive body filler was used to smooth out any inconsistencies and give the enclosure a more presentable look.

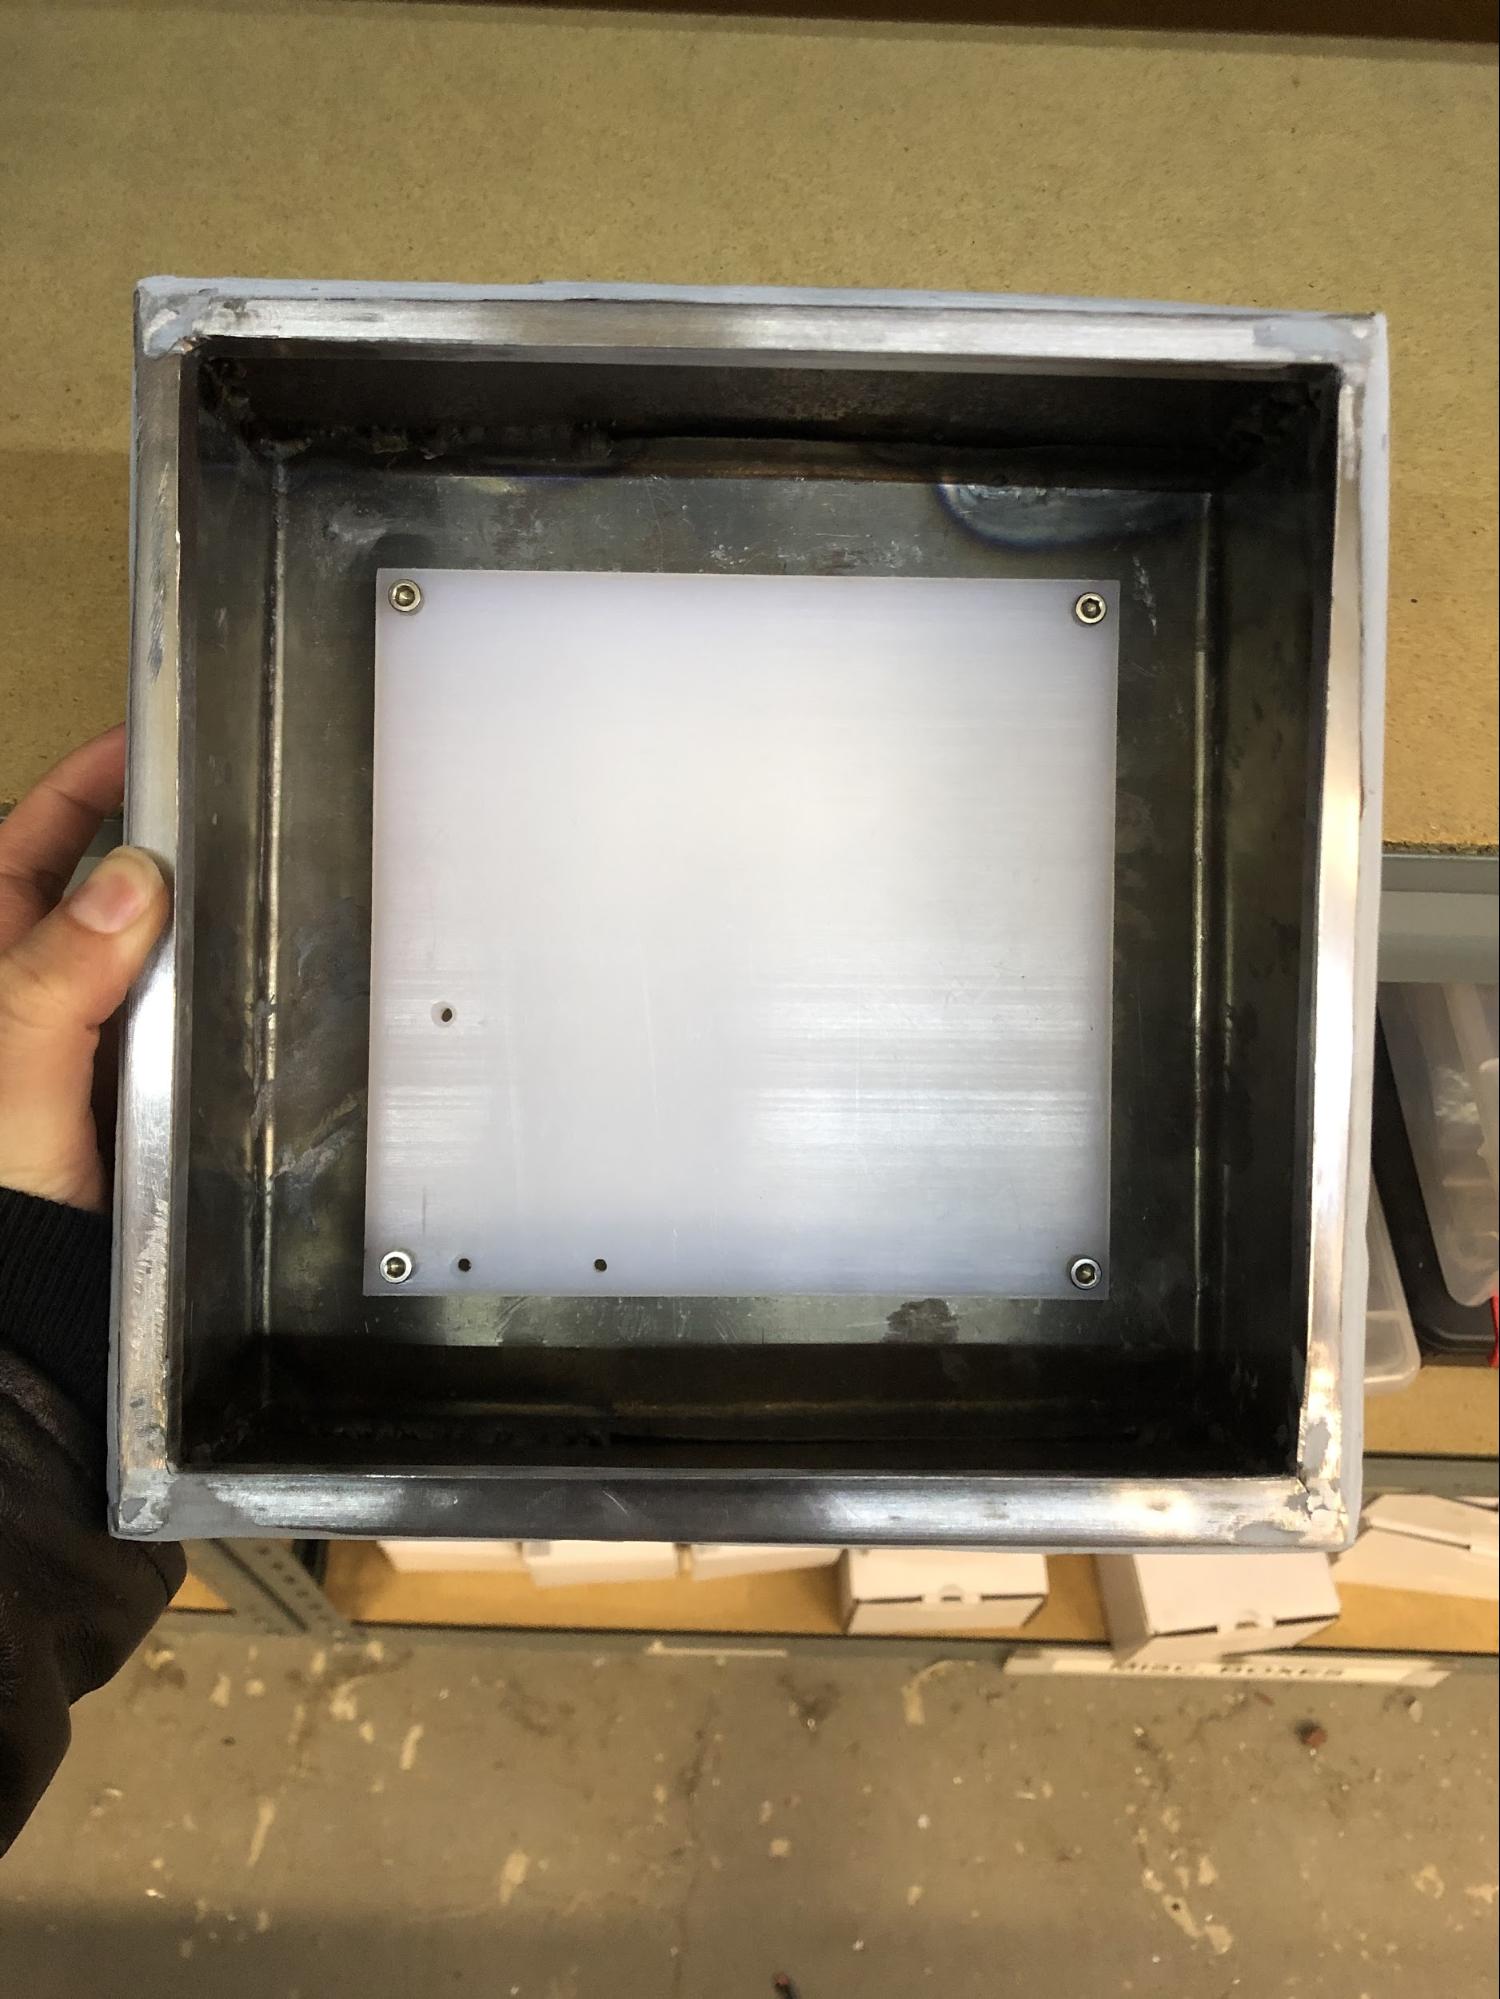
Finally, the enclosure was painted and the plastic panel to be used for mounting the system was bolted into it.